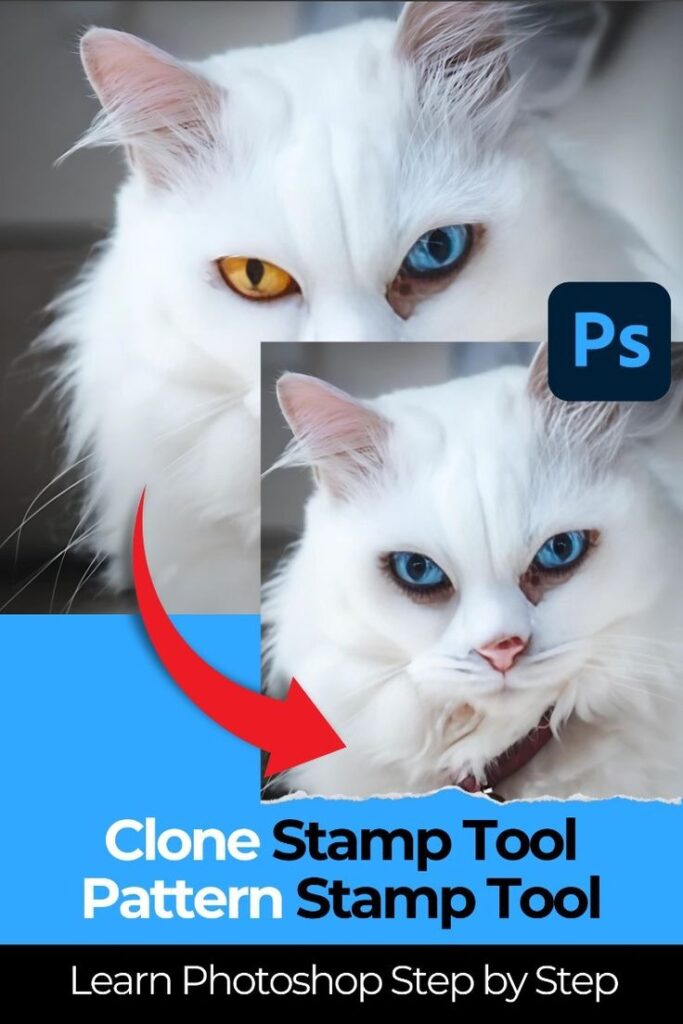
How to Use Photoshop Clone Tool: When you have opened an image in Photoshop and have noticed an annoying detail, a passerby in a landscape photo, a spot or a blemish on a portrait, or dust on an old scan, the Clone Stamp Tool can be just your savior. It is one of the most popular and traditional tools in Photoshop, as it lets you select a region of the image, copy pixels, and paint them smoothly and clearly onto another area. The Clone Stamp is a digital photo finishing tool that lets you make edits manually and accurately, avoiding AI-based editors’ guesses about what they should be.
I have been using this tool for many years for family portraits and professional retouching, and although it takes years of practice, the results are excellent. We cover guides for beginners, intermediates, and advanced users, along with common pitfalls and how to avoid them. When you are through, you will be a cloning expert.
How to Use Photoshop Clone Tool: What is the clone stamp device, and why do you use it?
The Clone Stamp Tool (shortcut S) stamps a source area onto a target area, precisely duplicating the source pixels. Movables of pixel accuracy, without any automatic blending as would show in the Healing Brush or Content-Aware Fill. It is best, therefore, in cases where you require complete control, such as removing power lines from a sky, extending a background, or fixing complex textures such as fabric or skin.
Photoshop has changed significantly, but the Clone Stamp tool cannot be eliminated because of its reliability and non-destructive workflow. State-of-the-art tools are ideal for quick fixes, but they may introduce artifacts or unnatural results. The Clone Stamp does not do that at all.
Introduction: The choice and installation of the tool.
In 2010, the first step was to open your image in Photoshop. The Clone Stamp Tool appears in the toolbar on the left, and its icon resembles a rubber stamp. If it isn’t visible, click and hold the Spot Healing Brush group.
Layer > Select a new blank layer (before starting to clone, Layer > New > Layer or Ctrl/Cmd + Shift + N). This plays a vital role in the nondestructive editing. Label it “cLayerpairs” to arrange. In your new layer, whose opacity has been selected in the upper-right corner, adjust the options bar:
Brush Settings: Use the brush preset picLayer to adjust brush size (use the [ and ] keys to change it quickly), hardness (softer edges, sharper details), and distance.
Mode: The default is often Normal; try Lighten or Darken to increase or decrease individual blemishes on the skin.
Opacity and flow should both be set at 100 percent, but a subtle accumulation should have a lower opacity (50-80 percent).
Sample: Included in the current layer and below (or all layers if you have several). This allows you to sample from the original image as you paint over your blank canvas.
Aligned: Choose this option when most of what you are working on is moving with your cursor—this is a suitable option. No, to repeat the very same sample.
Show overlay: Turn on the Fidding Window > Clone Source and turn on Show Overlay, which is an image of what you are cloning.
These environments may appear punishing at first, but you are welcome to prove yourself by copying your image (Image > Duplicate).
User’s guide to the clone stamp tool.
Here’s the core process:
Click Source Point: Click on a space near your problem area before downloading CSR. EXE.ALT. Until you are placing the installer. You’ll see a preview cursor. Select other pixels that match the texture, lighting, and hue of the desired area—proximity is crucial for achieving smooth results.
Press ALT/Option, then paint/target, release ALT/Option, and move to the area you need to paint. Click or drag to paint. The sampled pixels will be seen exactly as they were.
Superresample Often: Don’t be a power hog. New bits are clicked on frequently, particularly when moving through different textures. It will avoid blatant repetition.
Gradually build, meaning you have to take shorter, not long, strokes or single clicks (dabs). CTRL/Cmd + plus to move the zoom up 100-200 to be accurate.
Check Your Work: Zoom out, check, and enable the layer visibility (eye icon) to ensure it appears natural at a distance.
For instance, to have one off a background, sample clean ground close to the ground, and paint around the feet first, then sample the body, and adjust the brush size where necessary.
High-tech tools towards professional achievement.
When you are on track, then do these:
Cloning through multiplex, the Clone Source panel can be opened (Window Clone Source). You can add up to five sources and switch between them—excellent for complex retouching.
Rotating or Scaling Clones: Cloning pattern fabric rotation is in the corresponding view, so the width, height, or rotation of a clone is adjusted to match the rotation in the original view.
Blending Modes and Opacity: Gradual coverage can be achieved by lowering opacity, or one can create creative effects by using overlay modes.
Adding to the other tools: the Clone Stamp, used precisely in areas; the Spot Healing Brush, used on edges; and the Healing Brush, used to match texture.
Frequency Separation: Use two frequency layers for portraits: a high-frequency (details) layer and a low-frequency (tones) layer. Clone on the detail layer to achieve perfect skin without flattening.
Training on problematic images, such as dark, bossy backgrounds or mixed-race skin tones. It is just that everything is patience—the end is seeing no edits.
For the most up-to-date features and tips straight from Adobe, check out their official guide on retouching with the Clone Stamp Tool.
Best practices for investigations to prevent frustration.
Always paint on a fresh surface, never on top of the past.
Most fading is done with the brush and only on straight edges.
To resample, position yourself near your target, as with lighting and viewpoint.
Use a brush slightly larger than the area you want to cover.
Use the History panel for bigger steps. Combine Undo (Ctrl/Cmd + Z) and use the History panel.
Configure the overlay preview to enable accurate pattern development.
Top Ten Fallacies and the Ways to Correct Them.
Even the more competent users fail. Here are frequent issues:
Repetition of designs: Repetition of the source for too long will result in apparent tiles. Fix: Always rewarn.
Inappropriate Lighting/Textures: Far-Away Sampling. Fix: It is advisable to use the ones near you.
Tool Not Working: This can be caused by selecting the wrong layer, too low opacity/flow, or sampling a blank layer. Please check your sample settings and make sure you have a layer thumbnail (noLLalayer).
Hard Edges: The brush is too harsh or too opaque—blot with a softened brush in layers.
Deliberate Over-Editing: It can look unnatural and overly polished. Left a few natural faults.
If the tool is misaligned, right-click the tool icon and select Reset Tool.
Final Thoughts
The Clone Stamp Tool may not seem high-tech in a world of AI, but it beats the competition in quality and retouching control. You can start with something simple by removing spots or distractions and then proceed. Practicing, you’ll feel how you could not keep up without it.
You have to play around, and you will get a sense of the sources and strokes. Photoshop is endless, and learning to use tools like this opens the door to an infinite world of creative possibilities. Happy cloning!